Creating a beautiful outdoor kitchen backsplash doesn’t need to be complex or costly. A DIY approach can add charm and personality to your space.
Transforming your outdoor cooking area with a simple backsplash is an achievable weekend project. It adds flair and functionality to your al fresco dining setup. A backsplash protects walls from splatters and stains while cooking. It also serves as a decorative element, reflecting your personal style.
In this guide, we’ll explore easy-to-follow steps and creative ideas for crafting your own outdoor kitchen backsplash. No need for specialized skills or expensive materials. With just a bit of time and imagination, you can create a stunning focal point that makes outdoor gatherings even more inviting. Let’s dive into the world of DIY and elevate your outdoor kitchen with a backsplash that stands out.
Introduction To Diy Outdoor Kitchen Backsplashes
An outdoor kitchen ups the ante of home entertainment. It brings the heart of your home into the fresh air. A key feature in these alfresco cooking spaces is the backsplash. It protects your walls, keeps the area easy to clean, and adds a touch of style. Crafting a DIY backsplash can infuse personality into your space. Let’s dive into why a backsplash is a smart addition and explore the perks of doing it yourself.
The Value Of A Backsplash
A backsplash serves a dual purpose. It’s not just functional; it’s also a style statement. In an outdoor kitchen, it faces weather elements. A good backsplash will resist water, stains, and heat. It makes cleaning a breeze after a big cookout. Plus, it can be the design highlight, pulling together your outdoor kitchen’s look.
Why Choose Diy?
Going the DIY route means control and customization. You pick the materials, colors, and patterns. It can also save money. You learn new skills and get a sense of achievement. A DIY backsplash project lets you put a personal touch on your outdoor kitchen. It’s a fun challenge with a rewarding finish.
Essential Tools And Materials
Creating a DIY outdoor kitchen backsplash brings style and protection to your cooking space. Before starting, gather essential tools and materials. This guide helps you choose the right ones for a successful project.
Gathering Your Tools
Start with the right tools. A smooth process needs these:
- Tape measure – to get the right size.
- Level – for straight lines.
- Notched trowel – to apply adhesive.
- Tile cutter – for fitting tiles.
- Sponge and bucket – for cleaning.
Selecting The Right Materials
Choosing materials is key. Consider these:
- Tiles – Pick tiles that match your outdoor theme.
- Adhesive – Use one that’s strong and weather-resistant.
- Grout – Select a color that complements your tiles.
- Sealant – Protects your backsplash from the elements.
With these tools and materials, you’re ready to start. Remember, good preparation leads to great results.
Measuring And Planning
Embarking on a DIY outdoor kitchen backsplash project begins with Measuring and Planning. This phase is crucial for a seamless installation. You’ll need to size up the area and draft a layout that complements your outdoor space. Let’s delve into the specifics of evaluating your available space and sketching a design blueprint.
Assessing Your Space
Before you choose tiles or patterns for your backsplash, know your space. Measure the width and height of the area behind your grill or sink. Record these numbers. They will guide your material purchase. Ensure your backsplash fits well with outdoor elements like grills and countertops. Factor in outlets or fixtures that might affect the backsplash design.
Creating A Design Plan
A solid design plan sets the stage for a stunning backsplash. Start with inspiration from home decor sites or magazines. Think about colors, textures, and patterns that match your outdoor theme. Use graph paper to sketch your design. This helps visualize the end result. Pick materials that withstand outdoor conditions. Remember, your backsplash should be practical and stylish.
Tip: Consider the sunlight in your outdoor kitchen. Choose colors and finishes that won’t fade quickly.

Preparation For Installation
Before starting your DIY outdoor kitchen backsplash, gather all necessary tools and materials. Ensure the wall surface is clean, dry, and smooth for a successful application.
Getting your outdoor kitchen ready for a new backsplash is exciting. You want a space that shines and reflects your style. But first, let’s prep. Proper preparation ensures your backsplash sticks well and looks great. Let’s dive in.Surface Cleaning
Before anything, clean the wall. A clean surface is key for a backsplash. Dirt, grease, or old paint can stop the adhesive from bonding. So, grab a sponge or brush and some soapy water. Scrub the wall until it’s spotless. Rinse with water and let it dry. Now, your surface is ready for the next step.Applying The Adhesive
With a clean wall, it’s time for the adhesive. Choose the right type for your backsplash material. Spread it evenly on the wall with a notched trowel. Make sure the adhesive layer is consistent. This helps the tiles stick better and stay put. Now, you’re set to place your tiles and create that perfect outdoor kitchen look.Choosing Tiles For Your Backsplash
Creating a beautiful outdoor kitchen starts with the right backsplash. Choosing tiles plays a crucial role. They add color, style, and protection. Let’s explore how to pick the perfect tiles for your outdoor kitchen.
Tile Types And Styles
Different tiles offer unique looks and benefits. Here are some popular options:
- Ceramic – Affordable and comes in many colors.
- Porcelain – Stronger than ceramic, good for all weather.
- Stone – Natural look, but needs more care.
- Glass – Adds shine and color, easy to clean.
Think about the style you want. Do you like modern or rustic? Your tiles can help achieve that look.
Considering Durability And Maintenance
Outdoor kitchens face sun, rain, and cold. Choose tiles that can handle it. Porcelain and stone are good for tough weather. Ceramic and glass are easier to clean but might crack in cold.
Think about upkeep. Stone tiles need sealing to prevent stains. Glass and porcelain are lower maintenance. Choose what fits your lifestyle.
Remember, the right tiles will make your outdoor kitchen shine for years. Consider look, weather, and care. Your perfect backsplash is waiting.
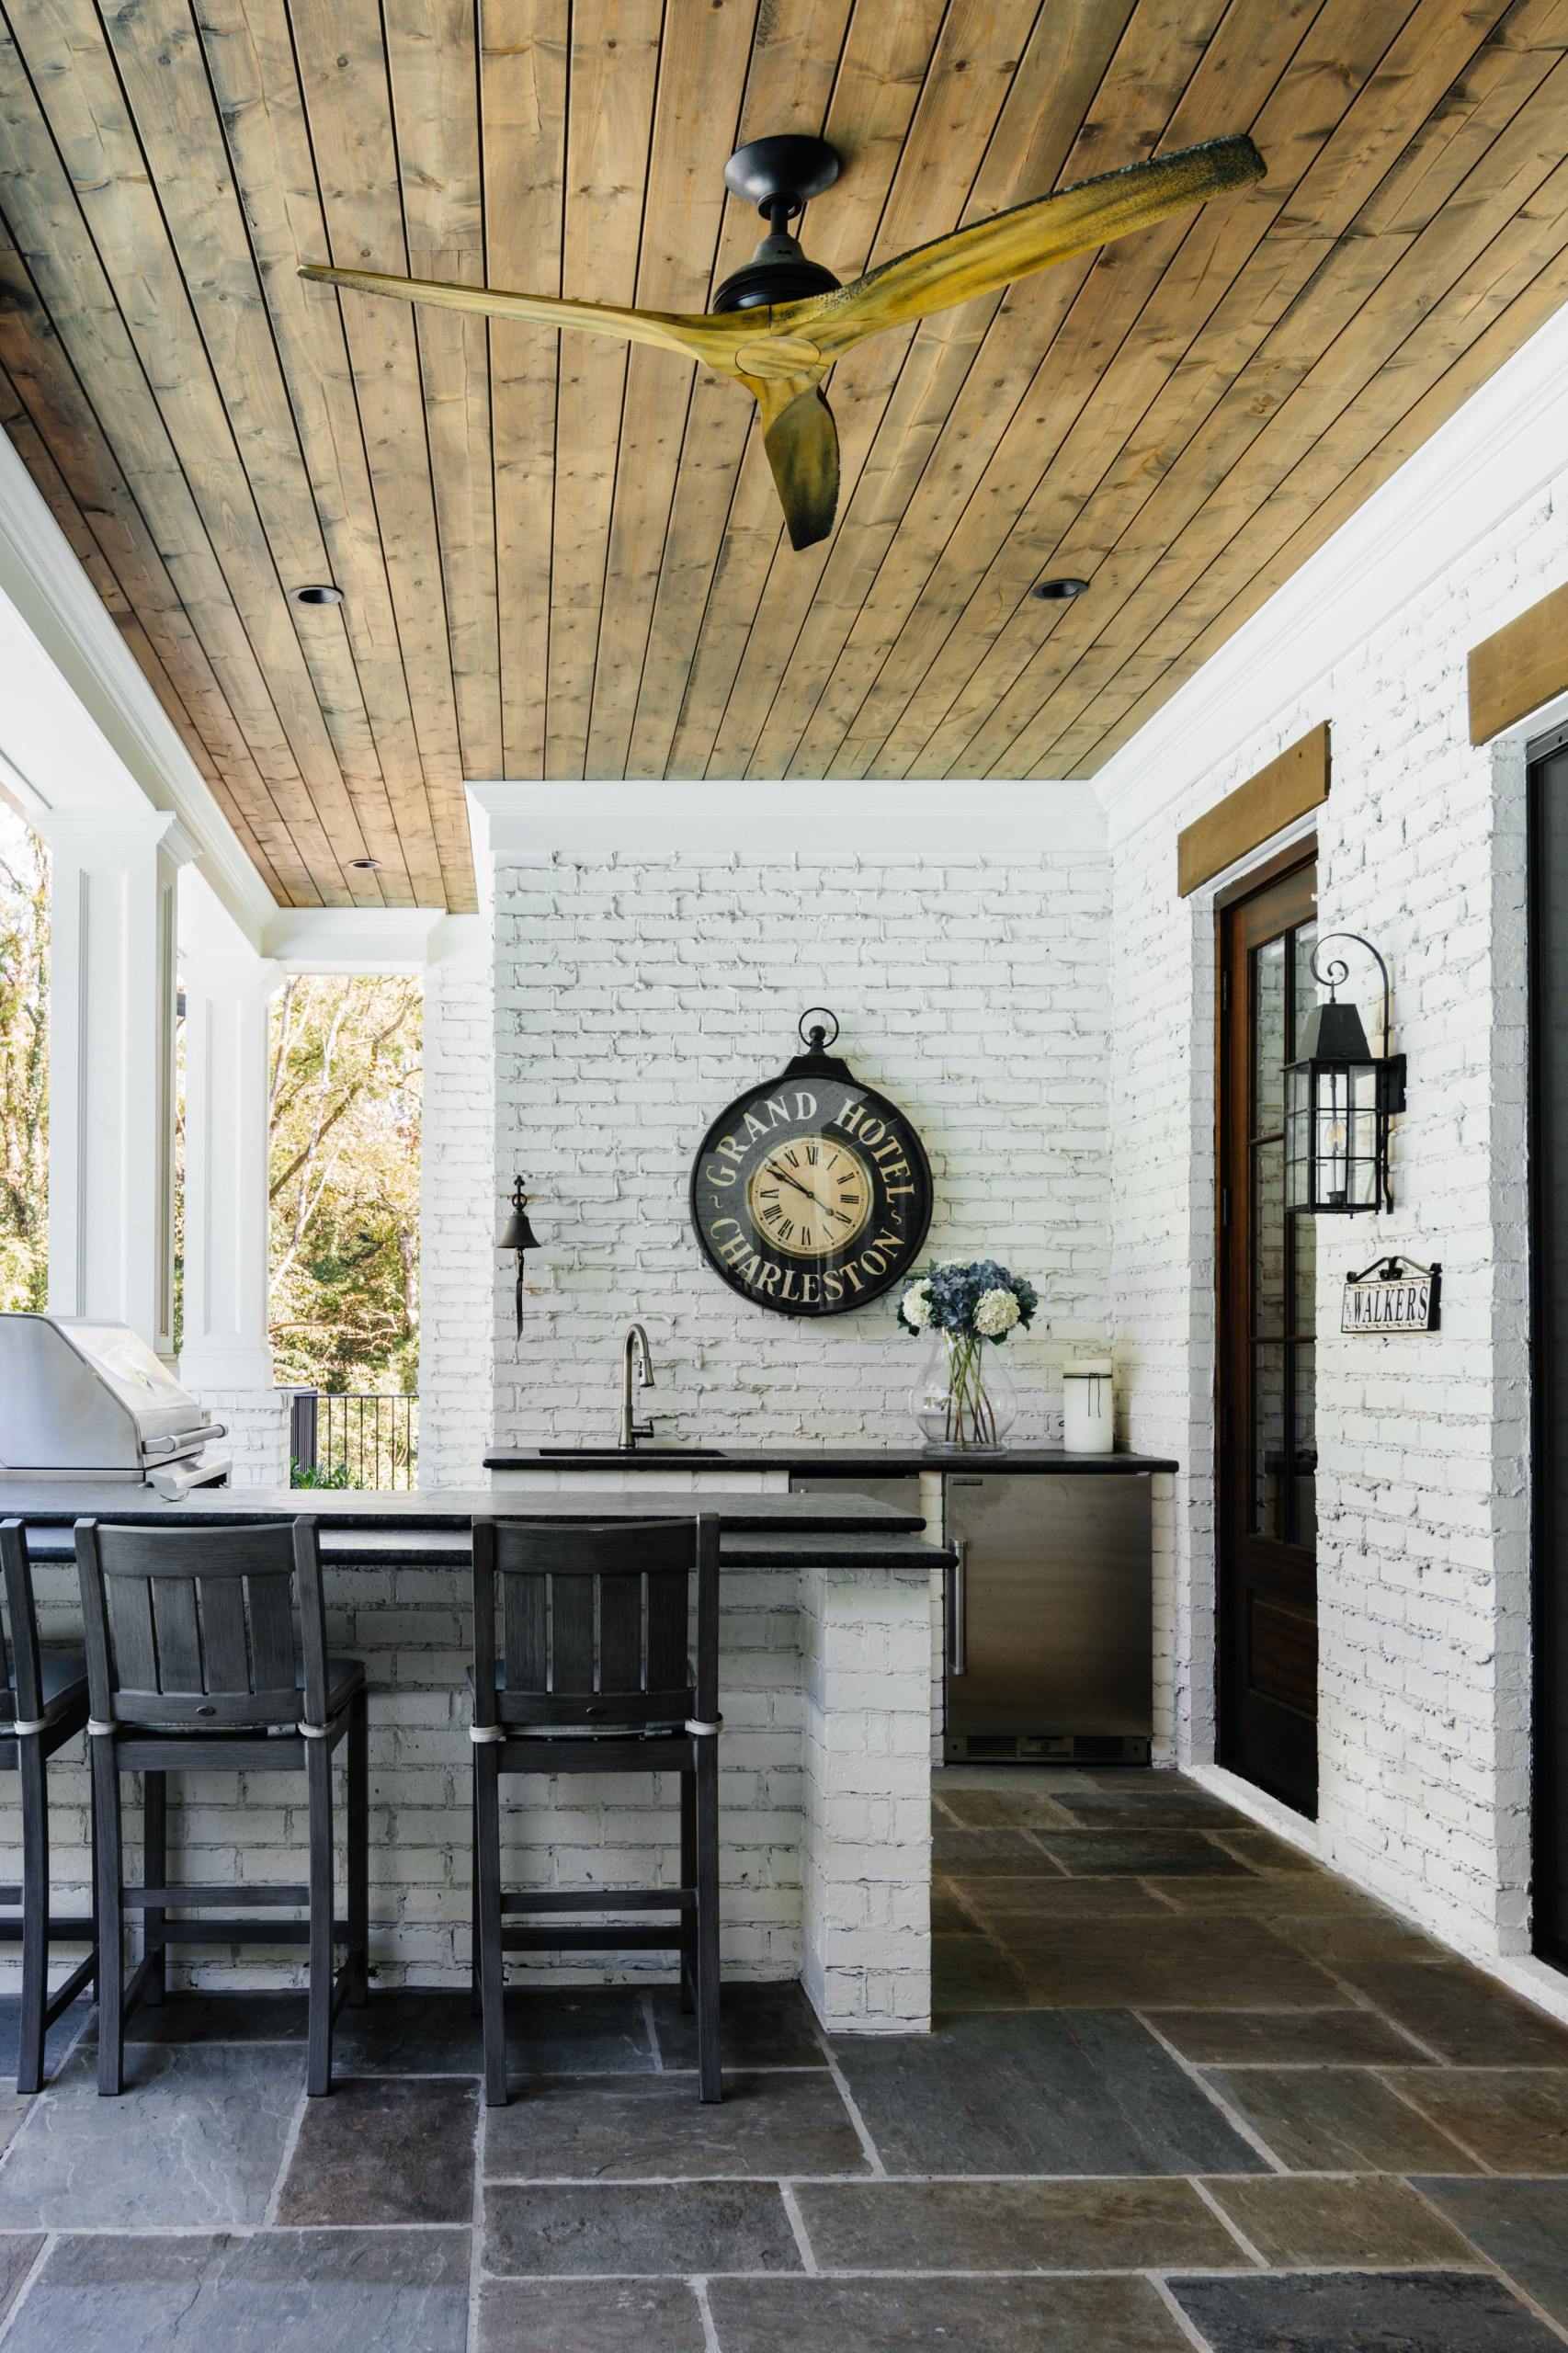
Tile Installation Techniques
Creating an outdoor kitchen backsplash is a rewarding project. Tile installation techniques are crucial for a durable and beautiful result. Let’s explore the steps to lay tiles and ensure they stay put for years.
Laying The Tiles
Start with a clean, level surface. Apply thin-set mortar using a notched trowel. Press tiles firmly into place, ensuring even gaps. Use spacers for a uniform look. Cut tiles to fit edges with a tile cutter. Allow the mortar to dry for 24 hours.
Grouting And Sealing
Mix grout to a paste-like consistency. Fill the gaps with grout using a float. Wipe excess grout with a damp sponge. After it dries, buff tiles with a cloth. Apply sealant to protect against weather and stains. This step is key for longevity.
Decorative Elements And Personal Touches
Creating a beautiful outdoor kitchen backsplash is more than just protection for your walls. It’s a chance to add your unique style to your outdoor cooking space. Decorative elements and personal touches turn a plain backsplash into a stunning feature. Think beyond the basics. Add colors, textures, and artistic flair to make your outdoor kitchen truly yours.
Adding Mosaics And Patterns
Mosaics bring life to your outdoor kitchen. They reflect your personality and style. Choose small tiles in various colors to create a vibrant pattern. Or, select larger pieces for a bold statement. Mosaics are not just pretty. They are durable and easy to clean. A perfect mix of form and function for your DIY project.
Incorporating Lighting
Good lighting makes your backsplash shine, even at night. It highlights textures and colors. Place lights under cabinets or above your cooking space. This adds warmth and depth to the area. It also makes cooking easier and safer after dark. Choose weatherproof fixtures to ensure they last in outdoor conditions.

Maintenance And Upkeep
Maintaining your DIY outdoor kitchen backsplash keeps it looking great. It also helps it last longer. This section covers easy tips for upkeep. Let’s dive in.
Regular Cleaning Tips
Start with a soft cloth and warm water. Wipe the backsplash weekly. For tougher stains, add mild soap to the water. Avoid harsh chemicals. They can damage the surface. Rinse well after cleaning. Dry with a clean cloth. This keeps the backsplash shiny and new.
Handling Repairs And Replacements
Check for damage regularly. Look for cracks or loose tiles. Early detection makes repairs easier. Small cracks? Fill them with matching grout. Loose tiles? Reattach them with a strong adhesive. Large damage may need a replacement tile. Always match the new tile with the old ones. This keeps the look consistent.
Remember, regular care keeps your backsplash beautiful and functional. Simple steps can prevent big problems. Enjoy your outdoor kitchen all year round.
Before And After: The Transformation
The ‘Before and After: The Transformation’ of a simple DIY outdoor kitchen backsplash can truly breathe new life into your outdoor space. Witnessing the change from a plain or worn-out backdrop to a stylish and functional kitchen feature is thrilling. It’s not just about the visual upgrade—it enhances the entire cooking experience.
Showcasing Your Work
Before the makeover, the area may have lacked character. Now, the backsplash stands out with its vibrant colors and textures. Photos capture the stark difference. Friends and family can’t help but notice the upgrade. Every meal cooked and shared becomes a moment to admire your handiwork.
Lessons Learned From The Project
Every DIY project teaches something new. Perhaps it was a new tiling technique or the best grout to use outdoors. Maybe you learned about planning and patience. These lessons are priceless and will aid you in future DIY endeavors. Your next project will be even smoother, thanks to this experience.
Conclusion: Enjoy Your New Outdoor Kitchen
Your outdoor kitchen now boasts a stunning DIY backsplash, blending function with style. It’s time to bask in the success of your project and envision countless gatherings under the sky. Fire up the grill, call over friends, and make memories in your upgraded outdoor space.
Final Thoughts
- Assess the backsplash; ensure it meets your needs and aesthetics.
- Celebrate your handiwork; your outdoor kitchen has a personal touch.
- Maintenance is key; a quick wipe keeps it looking fresh.
- Share your success; inspire others with your DIY achievement.
Encouragement For Future Diy Projects
Dive into more DIY. Let this backsplash be the start. Small projects enhance your space and skills. Tackle a new challenge. Perhaps add lighting or build a dining area. Your outdoor kitchen is just the beginning. Keep creating, keep enjoying.
Frequently Asked Questions
What Materials Work Best For A Diy Outdoor Kitchen Backsplash?
Outdoor kitchen backsplashes benefit from durable, weather-resistant materials like ceramic tile, stainless steel, stone, or glass. Choose a material that complements the outdoor space and withstands the elements.
How Can I Protect My Outdoor Kitchen Backsplash?
Seal porous materials like stone with a waterproof sealant. For other materials like tile or stainless steel, regular cleaning and maintenance are sufficient to protect your backsplash from outdoor conditions.
Is It Easy To Install A Diy Backsplash?
Installing a DIY backsplash can be straightforward if you choose the right materials and follow proper installation guidelines. Some materials, like peel-and-stick tiles, are particularly user-friendly for DIY enthusiasts.
Can I Use Indoor Backsplash Materials Outside?
It’s not recommended to use indoor backsplash materials outdoors as they may not be durable enough to handle temperature changes and exposure to the elements. Stick to materials designed for outdoor use.
Conclusion
Creating your own outdoor kitchen backsplash is a rewarding project. Simple steps and everyday materials bring big results. Your patio space transforms with a personal touch. It’s a cost-effective way to add style and function. Friends and family will admire your handiwork.
Start today and enjoy a fresh look for countless meals outside. Remember, a little effort goes a long way in making your outdoor kitchen shine.


