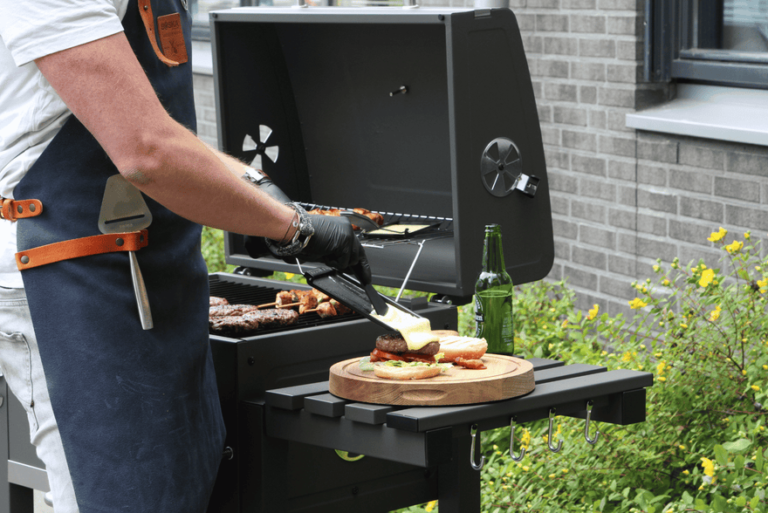
Embracing alfresco dining starts with a stellar outdoor kitchen. Crafting one yourself adds a personal touch.
Let’s dive into the world of DIY outdoor kitchen tutorials. These projects can transform your backyard into a culinary oasis. They offer a way to enjoy cooking and entertaining in the fresh air. Building an outdoor kitchen might seem daunting, but with the right guide, it’s an achievable weekend project.
Our step-by-step tutorials will show you how. From selecting materials to the final touches, we cover it all. Whether you have a spacious patio or a cozy corner, there’s a design for you. Get ready to bring your cooking game outside with these handy DIY tips. You’ll be flipping burgers under the sun in no time!

Introduction To Diy Outdoor Kitchens
Imagine grilling under the stars in your backyard. A place to cook and laugh with friends. That’s the charm of DIY outdoor kitchens. They turn simple yards into fun cooking spaces. You don’t need to be a pro. With some tools and creativity, anyone can build one. Let’s dive into why these kitchens are so loved and how you can create your own.
The Appeal Of Backyard Culinary Spaces
Outdoor kitchens blend fun and function. They create a spot for people to gather. The smell of barbecue fills the air. It becomes more than cooking. It’s an experience. A DIY kitchen means customizing this space. You choose the layout, materials, and features. It’s your taste, your design. You make it fit your home and life.
Benefits Of Building Your Own Outdoor Kitchen
Building it yourself saves money. No need for expensive contractors. You learn new skills and get a sense of pride. Your kitchen, your work. It also boosts your home’s value. A well-built outdoor kitchen is a hot feature. It can make your home stand out. Plus, it’s practical. Outdoor cooking keeps your house cooler and cuts down on energy bills.
Planning Your Outdoor Kitchen
Planning your outdoor kitchen starts with good ideas. A well-planned space makes cooking outside fun and easy. Let’s dive into the important steps for creating your dream outdoor kitchen.
Assessing Space And Location
First, look at your yard. How much room do you have? Think about the size of your outdoor kitchen. It should fit well and leave space to move around. Choose a spot near your house. This makes carrying food and tools easier. Make sure the place is safe. Keep it away from too much wind or too many trees.
Design Considerations For Functionality And Flow
Think about what you need in your kitchen. A grill, a sink, and a fridge are basic. Plan where each item will go. The grill should be in a central spot. Keep the fridge close to the house. This saves steps. Draw a simple plan. It helps to see how everything fits together. Remember, your kitchen must be easy to use. A good flow lets you cook and chat with friends at the same time.
Setting A Budget For Your Project
Embarking on a DIY outdoor kitchen project excites many. Yet, budgeting stays crucial. A clear budget ensures your project aligns with your finances. Now, let’s explore how costs can vary and ways to minimize them.
Cost Factors In Outdoor Kitchen Construction
Several elements shape the cost of building an outdoor kitchen. These include materials, design complexity, and appliances. Let’s break down these cost factors.
Tips For Keeping Expenses Down
Sticking to a budget doesn’t mean sacrificing quality. Choose cost-effective materials and do some tasks yourself. Planning and research save money. Keep reading for practical tips.
Choosing Materials And Appliances
Building an outdoor kitchen transforms backyard cooking. Key choices include materials and appliances. The right picks ensure a lasting, enjoyable outdoor space. Let’s explore.
Durability And Climate Compatibility
Select materials that withstand the elements. Stainless steel and stone offer strength and style. Check for UV resistance and rust-proof options. Weather conditions dictate choices. Cold regions need frost-proof options. Hot areas require heat-resistant materials.
- Concrete: Durable, customizable, but needs sealing.
- Brick: Classic look, stands up to heat, requires maintenance.
- Natural stone: Unique patterns, lasts long, higher cost.
- Tile: Versatile designs, easy to clean, may crack in cold.
Picking Appliances For Outdoor Use
Choose appliances designed for outdoors. Look for stainless steel finishes. They resist corrosion and are easy to clean. Ensure appliances have weatherproof features. Grills, fridges, and burners must handle temperature changes.
| Appliance | Feature | Benefit |
|---|---|---|
| Grill | High BTU output | Powerful cooking |
| Refrigerator | Outdoor rating | Keeps items chilled |
| Burners | Weather-resistant controls | Reliable performance |
Remember, quality matters. Check warranties. They signal manufacturer confidence. Energy efficiency is a plus. Save on bills, and help the environment.
Foundations And Flooring
Building an outdoor kitchen starts with a solid base. Foundations and Flooring are key. Let’s dive into how to prepare and choose the right materials.
Preparing The Ground
First, clear the area. Remove grass, stones, and debris. Use a shovel and rake to make the ground level. A level surface is crucial for stability. Next, compact the soil. This step prevents sinking. You can rent a compactor or use a hand tamper. Lastly, add a layer of gravel. This layer improves drainage.
Selecting The Right Flooring Options
Choose flooring that matches your style and budget. Concrete is strong and versatile. Tiles offer many designs but require more care. Pavers are easy to replace and come in various shapes. Consider these factors:
- Durability against weather
- Slip resistance for safety
- Maintenance needs
- Installation ease
Remember, the right choice adds value to your outdoor kitchen.

Building The Framework
Roll up your sleeves; it’s time to build an outdoor kitchen. A sturdy framework sets the stage for countless alfresco feasts. Let’s dive into crafting that solid base and smart storage for your culinary haven under the sky.
Constructing The Base Structure
Start with a solid foundation. Choose weather-resistant materials like concrete blocks or pressure-treated lumber. Lay the groundwork by marking the area. Ensure it’s level for a stable build. Assemble the base, checking for squareness at every step. Secure it with screws or mortar. Your kitchen’s durability begins here.
Incorporating Storage And Counter Space
Think function and flow. Plan for cabinets and drawers. Use marine-grade plywood for longevity. Cut out spaces for doors and shelves. Attach them with stainless steel hardware to resist rust. Top it off with a countertop. Pick a material that withstands the elements. Granite and concrete are popular choices. Now, you have space for prep and storage that lasts.
Electrical And Plumbing Considerations
Building an outdoor kitchen requires careful planning for electrical and plumbing needs. Ensure safe and functional wiring and pipes to make your DIY project successful.
Creating your own outdoor kitchen is a rewarding project. It adds value and fun to your home. But, it’s not just about choosing the right grill or countertop. You need to think about electricity and water too. Proper planning for these utilities is crucial. It keeps your outdoor kitchen safe and functional. Let’s dive into what you need to know about wiring and plumbing in your DIY outdoor kitchen.Wiring For Lights And Appliances
Electricity is a must for outdoor kitchens. You need power for lights, fridges, and other appliances. Safety comes first. Always use outdoor-rated fixtures and covers. This protects against weather and wear. Use GFCI outlets to prevent shocks. They are a must near water sources. Plan your layout before you start. Think about where each appliance will go. This ensures you have enough power sources. A pro can help with complex wiring. They make sure everything meets code.
Plumbing Basics For Sinks And Refrigerators
Water in your outdoor kitchen is a big plus. It makes prep and cleanup easier. Start with cold water lines for a basic sink. Think about adding hot water for more convenience. Use outdoor-rated pipes and fixtures. They resist freezing and rust. A shut-off valve is important. It lets you cut water in the cold months to avoid freezing. A drain connected to your home’s waste system is best. But a dry well can work too for some setups. A plumber can ensure it’s all done right. They make sure it’s safe and up to code. And don’t forget, a fridge needs a water line for ice or cold water dispensers.
Finishing Touches And Decor
Creating a DIY outdoor kitchen adds value and fun to your home. A key part is the finishing touches and decor. These elements make the space inviting and unique. Let’s dive into the details that bring your outdoor kitchen to life.
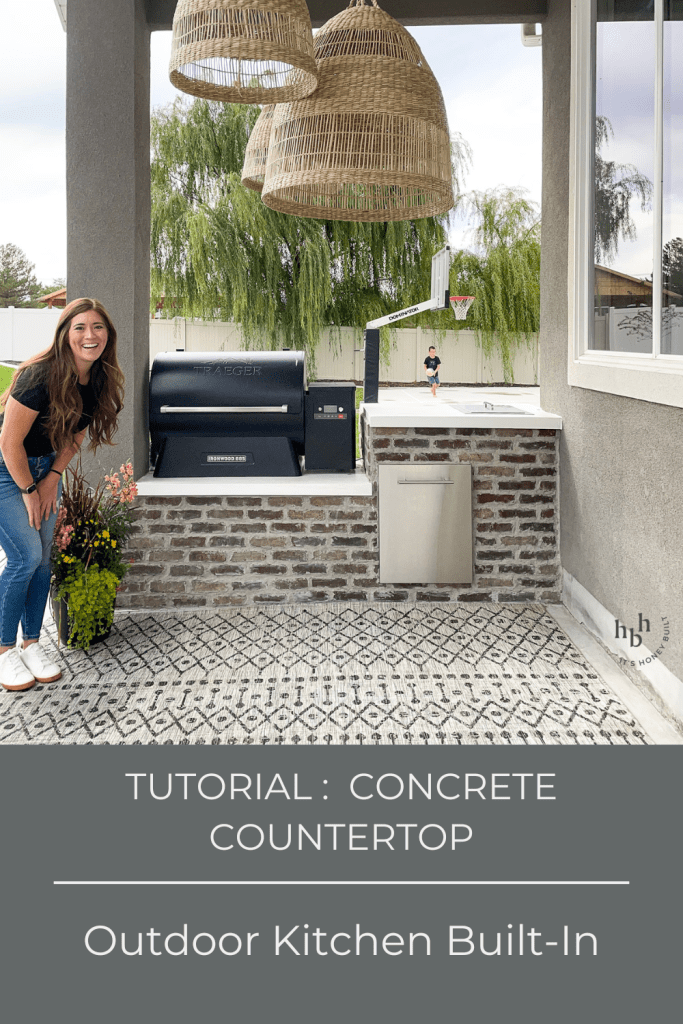
Countertops And Backsplashes
Choose durable countertops. Stone or tile works well outdoors. They resist weather and heat. Easy to clean, too. A colorful backsplash adds style. Pick tiles that match your theme. This combo brings both function and beauty to your kitchen.
Lighting And Furniture For Ambiance
Good lighting sets the mood. Use string lights for a cozy feel. Solar lights save energy. Place them around your kitchen and dining area. For furniture, pick weather-resistant types. Comfort matters. Choose chairs and tables that invite people to relax. Add cushions for extra comfort. Soft colors work best.
Protecting Your Outdoor Kitchen
Creating an outdoor kitchen brings the joy of cooking into the fresh air. Yet, elements like rain, wind, and sun can harm it. Learning to shield your kitchen from nature’s forces is key. This guide offers top tips for keeping your outdoor kitchen safe and sound for years.
Weatherproofing Strategies
Shielding your outdoor kitchen from harsh weather is vital. Start with durable materials. Stainless steel and stone stand up to the elements. Next, consider a roof or pergola. It keeps rain and sun off your space. For walls, use weather-resistant finishes. Make sure to seal all countertops too. This prevents water damage and stains.
Maintenance For Longevity
Regular upkeep keeps your kitchen looking great. Clean surfaces after each use. Cover appliances when not in use. Inspect for wear often. Look for rust, cracks, or mold. Fix these issues fast to stop them from getting worse. Keep grills and burners clean to ensure they last. With these steps, your outdoor kitchen will stay in top shape.
Recipes And Entertainment Ideas
Recipes and Entertainment Ideas elevate any DIY outdoor kitchen experience. A well-planned menu and fun activities turn simple gatherings into cherished memories. With the right inspiration, anyone can serve up delicious meals and create an inviting atmosphere for guests.
Outdoor Cooking Inspiration
Ignite your grill and taste buds with fresh, flavorful dishes. Start with easy recipes that focus on seasonal ingredients. Think grilled corn, veggie skewers, and BBQ chicken. Upgrade your grilling game with homemade marinades and sauces. Here’s a quick, crowd-pleasing recipe:
- Grilled Honey-Garlic Shrimp:
- Peel and devein shrimp.
- Mix honey, garlic, and spices.
- Marinate for 30 minutes.
- Grill each side for 2 minutes.
Serve with a side of grilled veggies or a fresh salad. Remember to keep dishes simple for more time with guests.
Hosting Memorable Gatherings
Entertainment is key for memorable outdoor parties. Plan games that everyone can enjoy. Set up a game of horseshoes or a bean bag toss. Create a cozy space with outdoor seating and string lights.
Set a theme for your gathering. Try a “Taco Night” or “Burger Bar” where guests can customize their food. Include a dessert station with s’mores and fruit pops for a sweet finish. Keep drinks cool in a stylish ice bucket or a DIY cooler table.
Remember the music. Create a playlist that sets the mood and keeps the party going. Keep the volume at a level where conversation flows easily.
Your outdoor kitchen is more than a place to cook. It’s a space to connect, enjoy good food, and make memories. With these recipes and entertainment ideas, you’re set for success.
Frequently Asked Questions
What Materials Do I Need For A Diy Outdoor Kitchen?
For a DIY outdoor kitchen, you’ll need construction materials such as concrete blocks, wood, or metal frames, countertops, a sink, and weather-resistant finishes. Additionally, you’ll need tools and appliances like a grill, refrigerator, and storage solutions.
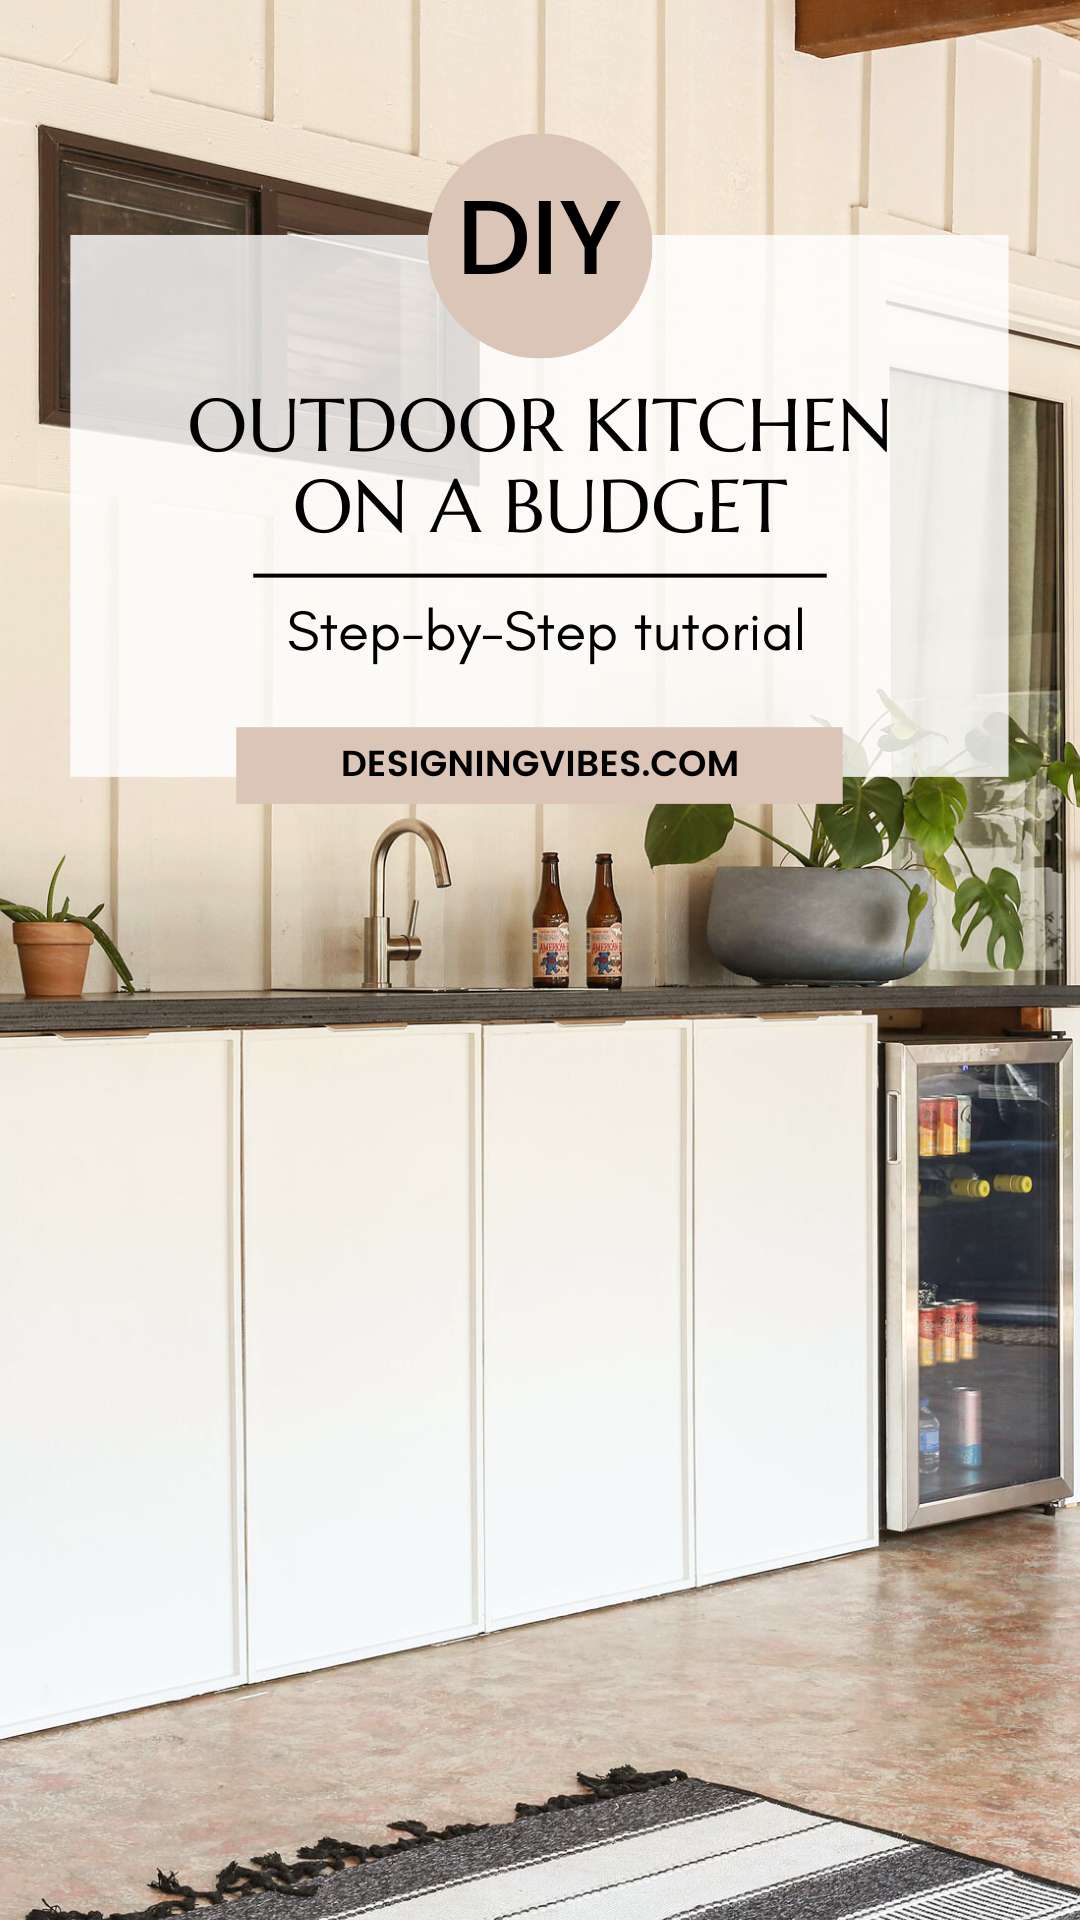
How To Build An Outdoor Kitchen On A Budget?
Building an outdoor kitchen on a budget involves using cost-effective materials like reclaimed wood and repurposed fixtures. Focus on necessities like a good-quality grill and use DIY skills for construction to save on labor costs. Look for sales or second-hand appliances.
Can I Install A Diy Outdoor Kitchen Myself?
Yes, with basic construction knowledge and the right tools, you can install a DIY outdoor kitchen. Start with a simple design and follow step-by-step tutorials. Ensure to consider plumbing and electrical requirements for appliances and safety.
What Is The Best Surface For An Outdoor Kitchen Countertop?
The best surface for an outdoor kitchen countertop is one that’s durable and weather-resistant. Materials like granite, concrete, and stainless steel are popular choices. They withstand outdoor elements and are easy to clean.
Conclusion
Building an outdoor kitchen is a rewarding project. You’ve seen the steps, the tools needed, and the creative options available. Start small or go big – it’s your choice. Your own outdoor kitchen will bring joy and great memories. Imagine the delicious meals and the fun times with family and friends.
Ready to get your hands dirty? Grab your materials and let’s make that dream kitchen a reality. Share your progress and inspire others. Happy building and even happier grilling!