Grilling ribs is an art form, a perfect blend of flavor, tenderness, and technique. A backyard BBQ isn’t complete without them.
Imagine the smoky aroma of ribs sizzling over a hot grill, the sauce sticky and caramelizing at the edges. This guide will turn you into a rib-grilling maestro, step by step. For many, ribs are the crown jewel of barbecues, yet the process of grilling them to perfection can seem daunting.
Fear not, because this guide is tailored to help even a novice griller. We’ll take you through selecting the right cut, prepping your ribs with a mouthwatering rub, and mastering the grill temperature for that fall-off-the-bone tenderness. With clear instructions, you’ll learn the secrets to cooking ribs that will have your guests reaching for seconds. Grab your apron, it’s time to grill some ribs.

Selecting The Best Ribs
Selecting top-notch ribs is essential for a perfect grill-out. This guide simplifies the process, ensuring your barbecue success.
Grilling ribs is an art form. Selecting the best ribs is the first step. The right choice leads to tender, flavorful meat. This guide helps pick the perfect ribs for grilling.Types Of Ribs
Three main types of ribs exist: baby back, spare, and St. Louis style. Baby back ribs come from the loin and are leaner. Spare ribs are cut from the belly and are meatier. St. Louis style is a trimmed spare rib. Each type has its own texture and flavor profile.
What To Look For In Quality Ribs
Look for ribs with even marbling. This fat keeps them juicy. Ribs should have a good meat-to-bone ratio. Too much bone means less meat. The color matters too. Fresh ribs are pinkish-red with white fat. Avoid ribs with a dull color or dry edges. A slight smell is normal, but strong odors are not. Check the packaging. It should be tight with no leaks. This ensures freshness.
Essential Grilling Tools
Grilling ribs needs the right tools. Let’s talk about them.
Grill Types: Charcoal Vs. Gas
Two main grills exist: charcoal and gas. Each has pros and cons.
- Charcoal Grill: Gives a smoky flavor. Needs more time to heat.
- Gas Grill: Starts fast. Offers heat control. No smoky taste.
Your choice depends on what flavor you like and how much time you have.
Must-have Grilling Accessories
Certain tools make grilling easier and safer. Here are key ones:
- Tongs: For turning ribs without poking them.
- Meat Thermometer: Tells you when ribs are cooked right.
- Grill Brush: Keeps the grill clean for next time.
- Aluminum Foil: Wraps ribs for tender cooking.
These tools help in cooking ribs perfectly. Enjoy your grilling!
Preparation Prior To Grilling
Before the grill heats up, there’s an art to prepping ribs. This step-by-step guide ensures ribs turn out tender every time. Start with a few simple steps to prep the ribs right. It means the difference between good and great ribs.
Trimming And Removing The Membrane
First, lay the ribs on a clean surface. Find the thin membrane covering the rack’s back. Slide a knife under the membrane at one rib’s end. Lift and peel it away in one piece. This step is key. It helps flavors soak in and makes ribs less chewy.
Marinating For Maximum Flavor
Next, mix a marinade of choice in a large bowl. Coat the ribs evenly. Let them sit in this flavor bath. A few hours is good, overnight is best. This breaks down tough fibers. It also infuses the meat with deep flavor. Your ribs are now ready for the grill.
Seasoning Secrets
Seasoning secrets can turn good ribs into great ones. Before grilling, choosing the right seasoning makes all the difference. Let’s explore the rubs that elevate ribs to perfection.
Dry Rubs Vs. Wet Rubs
Ribs need a flavorful crust for that burst of taste. Dry rubs and wet rubs both offer unique benefits.
- Dry rubs are mixtures of spices and herbs. They create a savory crust.
- Wet rubs add moisture. They often include sauces or oils.
Both rubs infuse ribs with deep flavors. Your choice depends on the desired outcome.
Homemade Rub Recipes
Creating a homemade rub allows for customization. Here are simple recipes to start with.
| Ingredients | Dry Rub | Wet Rub |
|---|---|---|
| Brown Sugar | 1/4 cup | 1/4 cup |
| Paprika | 2 tbsp | 1 tbsp |
| Black Pepper | 1 tbsp | 1 tsp |
| Garlic Powder | 2 tsp | 1 tsp |
| Olive Oil | – | 2 tbsp |
Mix dry ingredients for a dry rub. Combine all for a wet rub. Apply generously to ribs before grilling.
Grill Setup For Ribs
Setting up your grill right is key to perfect ribs. Let’s dive into how. First, know your grill. It can make or break your rib game. Ready? Here’s how to set up your grill for ribs.
Direct Vs. Indirect Heat
Direct heat cooks food fast, right over the fire. Think searing. Indirect heat cooks food slowly. It’s not right over the fire. Ribs love indirect heat. They need time to become tender. So, place ribs away from the fire. Use direct heat for a quick finish. This adds a nice crust.
Controlling Temperature
Keeping the right temperature is crucial. Aim for 225-250 degrees Fahrenheit. Use vents to control the heat. Open vents mean more air and more heat. Closed vents mean less air and less heat. Keep a thermometer handy. Check the temperature often. Adjust the vents as needed. This keeps your ribs cooking just right.
The Grilling Process
Welcome to the heart of rib grilling – ‘The Grilling Process’. Transforming a rack of ribs into a mouth-watering feast requires patience and technique. From layering flavors to mastering the timing of flips, each step is crucial for that perfect off-the-bone tenderness.
Layering Flavors While Grilling
Begin with a dry rub. Coat ribs evenly. Let the spices sink in for at least an hour. This dry rub creates a crust, sealing in juices.
Brush on the sauce as ribs cook. Start 30 minutes before they’re done. This adds a sticky, caramelized layer.
Introduce wood chips for smoke. Hickory or applewood are great picks. Soak chips in water, then place them on coals or in a smoker box.
Combine these techniques for a flavor-packed bite every time.
Timing And Flipping For Perfection
Low and slow is the mantra. Aim for 225-250°F (107-121°C) throughout cooking. Use a meat thermometer to check doneness.
- Flip ribs every 30 minutes. This ensures an even cook.
- After two hours, wrap in foil. It locks in moisture.
- Cook for another hour. Then check for that tender texture.
Remember, patience yields juicy, fall-off-the-bone ribs. Stick to the timing for grilling success.
Testing For Doneness
Grilling ribs to perfection involves judging their doneness accurately. This guide shows you clear cues to look for, ensuring your ribs are succulent and ready to enjoy.
Grilling ribs to perfection is an art. Knowing when they’re ready is key. You don’t want to serve undercooked or dry, overcooked ribs. Let’s talk about how to test for doneness.Using A Meat Thermometer
A reliable way to test ribs is with a meat thermometer. Insert it into the thickest part, avoiding bones. Look for 145°F for safety. But, ribs are best between 190°F to 203°F. That’s when they’re tender and juicy.
Visual And Tactile Cues
Look for meat shrinking back from the bones. About a half-inch is a good sign. Then give the ribs a gentle twist. If the meat has some give and the surface is crispy, they’re likely done. Poke them too. If the meat bounces back, it’s ready.
Resting And Serving
After grilling ribs, the next steps are crucial. Resting and serving. These steps make sure your ribs are juicy and tasty. Let’s dive into how to do it right.
Importance Of Resting Ribs
Resting ribs is key. It lets juices settle back into the meat. This makes the ribs moist and flavorful. Always rest ribs for at least 10 minutes before cutting. Cover them with foil to keep warm. This simple step changes everything.
Carving And Presentation Tips
Carving ribs isn’t hard. Use a sharp knife. Cut between the bones. For a good look, serve on a wooden board. Add some sides like corn or salad. This makes your meal complete. Remember, eat with your eyes first. Good presentation matters.
Sauces And Glazes
Nothing brings out the rich flavor of ribs like the perfect sauce or glaze. This magic layer caramelizes beautifully on the grill, creating a finger-licking crust. It’s what transforms good ribs into great ones. Whether you love a classic BBQ glaze or a bold, spicy kick, mastering sauces is key. Let’s dive into the best ways to apply sauces and some easy-to-make recipes.
Applying Sauces On The Grill
Timing is everything with sauces. Start too soon, and the sugars might burn. Too late, and the flavor won’t meld. Begin when the ribs are almost cooked, about 30 minutes before they’re done. Use a brush or mop to apply the sauce in thin layers. Let each layer bake onto the surface before adding the next. This method seals in the sauce and gives a glossy finish.
Diy Sauce Recipes
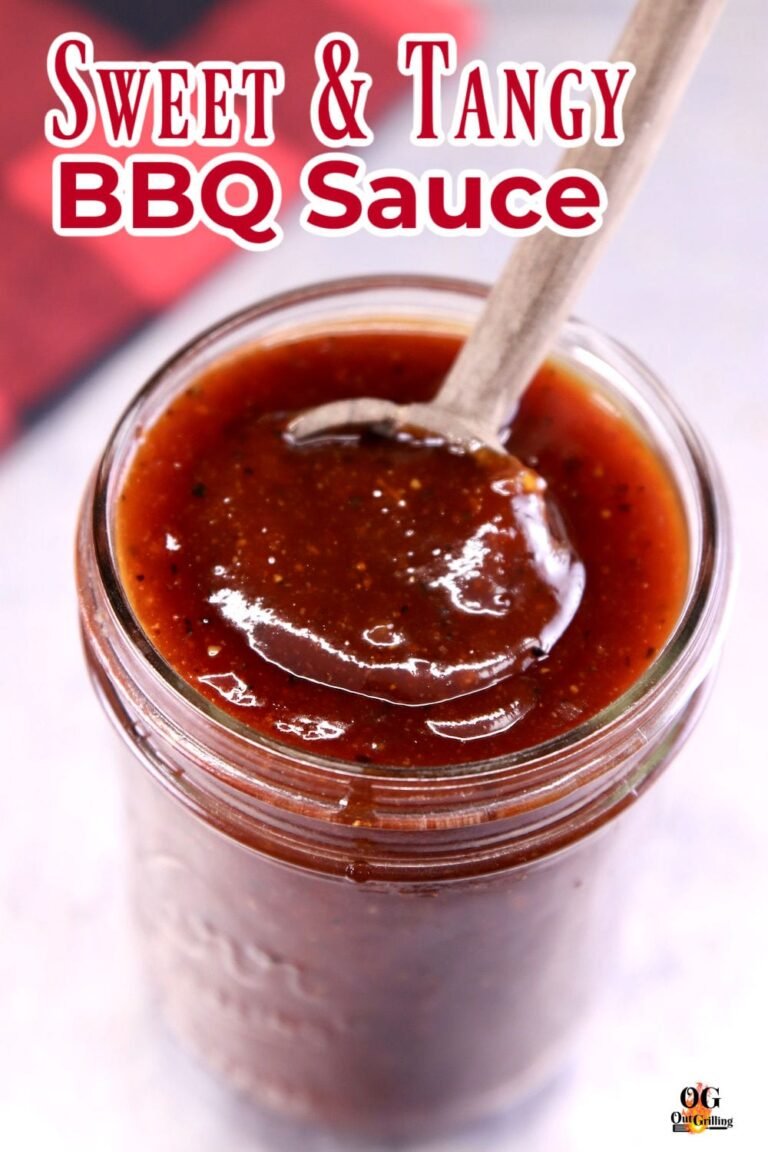
Creating your own sauce is simple and rewarding. Start with a base like ketchup or tomato sauce. Add sweetness with honey or brown sugar. Vinegar brings a tangy punch. Mustard adds spice, while Worcestershire sauce brings depth. Experiment with garlic, onion powder, and smoked paprika for complexity. Cook all ingredients on low heat until thickened. Your homemade sauce will be the talk of the party.
Sides And Pairings
Choosing the right sides and pairings enhances your grilled ribs experience. Simple salads or grilled veggies work well. Cold drinks or beer are perfect matches.
Grilling ribs is an art. The right sides and pairings turn a good meal into a feast. Let’s talk about the best matches for those smoky, savory ribs.Complementary Side Dishes
Think balance. Ribs are rich and heavy. Fresh, light sides work best. Coleslaw adds a crisp, tangy counterpoint. Its creamy dressing cools the palate. Corn on the cob brings sweetness to the plate. It’s a classic with butter and a sprinkle of salt. Potato salad is another go-to. It’s creamy and comforting. For a healthier twist, try a vibrant, zesty bean salad. It’s packed with flavor and nutrients. Grilled vegetables also shine. They get a nice char and smokiness to echo the ribs.Beverage Pairings
Drinks matter too. They can cleanse the palate or complement the flavors. For beer lovers, a light lager or pale ale is perfect. These beers won’t overpower the taste of the ribs. A fruity, chilled sangria also pairs well. It cuts through the richness of the meat. For non-alcoholic options, iced tea is refreshing. Add a slice of lemon for a citrus kick. Lemonade works too. Its sweetness and tang balance the smoky BBQ flavor. And of course, water is always a good choice. Keep it on hand to stay hydrated.Common Pitfalls To Avoid
Grilling ribs takes patience and technique. Dodge common errors like rushing the cook time or neglecting to remove the membrane for the best results. Keep the temperature steady and avoid frequent checking to ensure perfectly cooked ribs every time.
Grilling ribs is a true art form. But, even the best artists can have a bad day. Let’s talk about common mistakes. You want your ribs to be the star of the show, not a tough, burnt mess. Avoiding these pitfalls will set you up for success.Overcooking And Charring
Keep a close eye on your ribs. They need time, but too much? Disaster. Ribs should never be tough or dry. A meat thermometer is your friend. It helps you hit that sweet spot. Aim for an internal temperature of 145-160°F (63-71°C). Remember, carryover cooking will continue after they’re off the grill. Rest your ribs. They’ll stay juicy and tender.
Managing Flare-ups
Flare-ups can sneak up on you. They’re like unwanted guests at a party. Keep your grill’s lid open when you’re cooking. This way, you can spot flare-ups fast. Move the ribs to a cooler zone on the grill. Safety first. Always have a spray bottle of water handy. A quick spritz can tame those flames without ruining your ribs.
Advanced Grilling Techniques
Ready to level up your rib grilling game? Dive into advanced techniques that promise tender, smoky ribs. Perfect these methods, and you’ll be the star of every barbecue. Let’s explore two expert techniques: smoking ribs on your grill and using a rib rack.
Smoking Ribs On A Grill
Smoking infuses ribs with a deep, woodsy flavor. It’s a game-changer for taste. To start, choose wood chips like hickory or mesquite. Soak them in water for about an hour before use. This prevents burning.
Next, prep your grill for indirect heat. If you have a gas grill, ignite only one side. For charcoal grills, pile coals on one side. Maintain a steady temperature of 225°F. This is crucial for smoking.
Now, place your soaked wood chips in a smoker box or wrap them in foil with holes. Put them directly over the flame. Ribs go on the cooler side of the grill. Close the lid. Patience is key. Smoking takes hours. Keep the temperature constant. Resist the urge to peek. Every look adds time.
Using A Rib Rack
A rib rack maximizes space and ensures even cooking. It’s a simple tool that stands your ribs upright. This allows you to grill multiple rib slabs at once.
First, season your ribs with your favorite rub. Let them sit for a bit. This helps the flavors sink in. Then, place each rib slab in the rack. Be sure they don’t touch. Airflow is important for even cooking.
Set the rack on the grill over indirect heat. Remember, low and slow is the mantra. Expect a few hours of grilling time. Keep the lid closed as much as possible. Check occasionally for doneness. Ribs are ready when the meat pulls back from the bone.
Master these techniques, and enjoy ribs that are the talk of the town. Your grill is your canvas; paint it with flavors and savor the masterpiece!

Frequently Asked Questions
What’s The Ideal Temperature For Grilling Ribs?
Grilling ribs requires a low and slow approach. Aim for a temperature between 225°F to 250°F. This range helps to tenderize the meat while infusing smoky flavor.
How Long Should Ribs Be Grilled For Perfection?
Ribs should be grilled for about 4 to 5 hours. Wrapping them in foil after the first 2 hours can help retain moisture. Always check for tenderness rather than just timing.
Can You Grill Ribs Without A Smoker?
Absolutely! Set up your grill for indirect heat and use wood chips to create smoke. Maintain a steady temperature and follow similar timings as you would with a smoker.
Should Ribs Be Marinated Before Grilling?
Marinating ribs is optional but recommended. A marinade can tenderize and add flavor. Marinate for at least 1 hour or overnight for best results.
Conclusion
Grilling ribs is easier than you think. Just follow these simple steps. First, choose your ribs. Then, prep them right. Remember to marinate for flavor. Your grill must be the right temperature. Slow cooking is key for that perfect tenderness.
Don’t rush; let them cook well. Basting adds that extra zing. Now, you’re all set to serve up mouth-watering ribs. Your friends and family will love them. Happy grilling and enjoy every bite!
