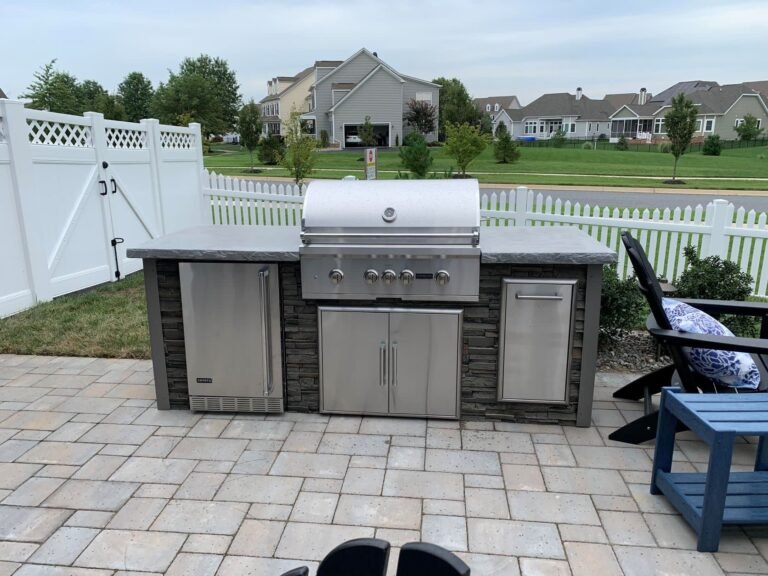
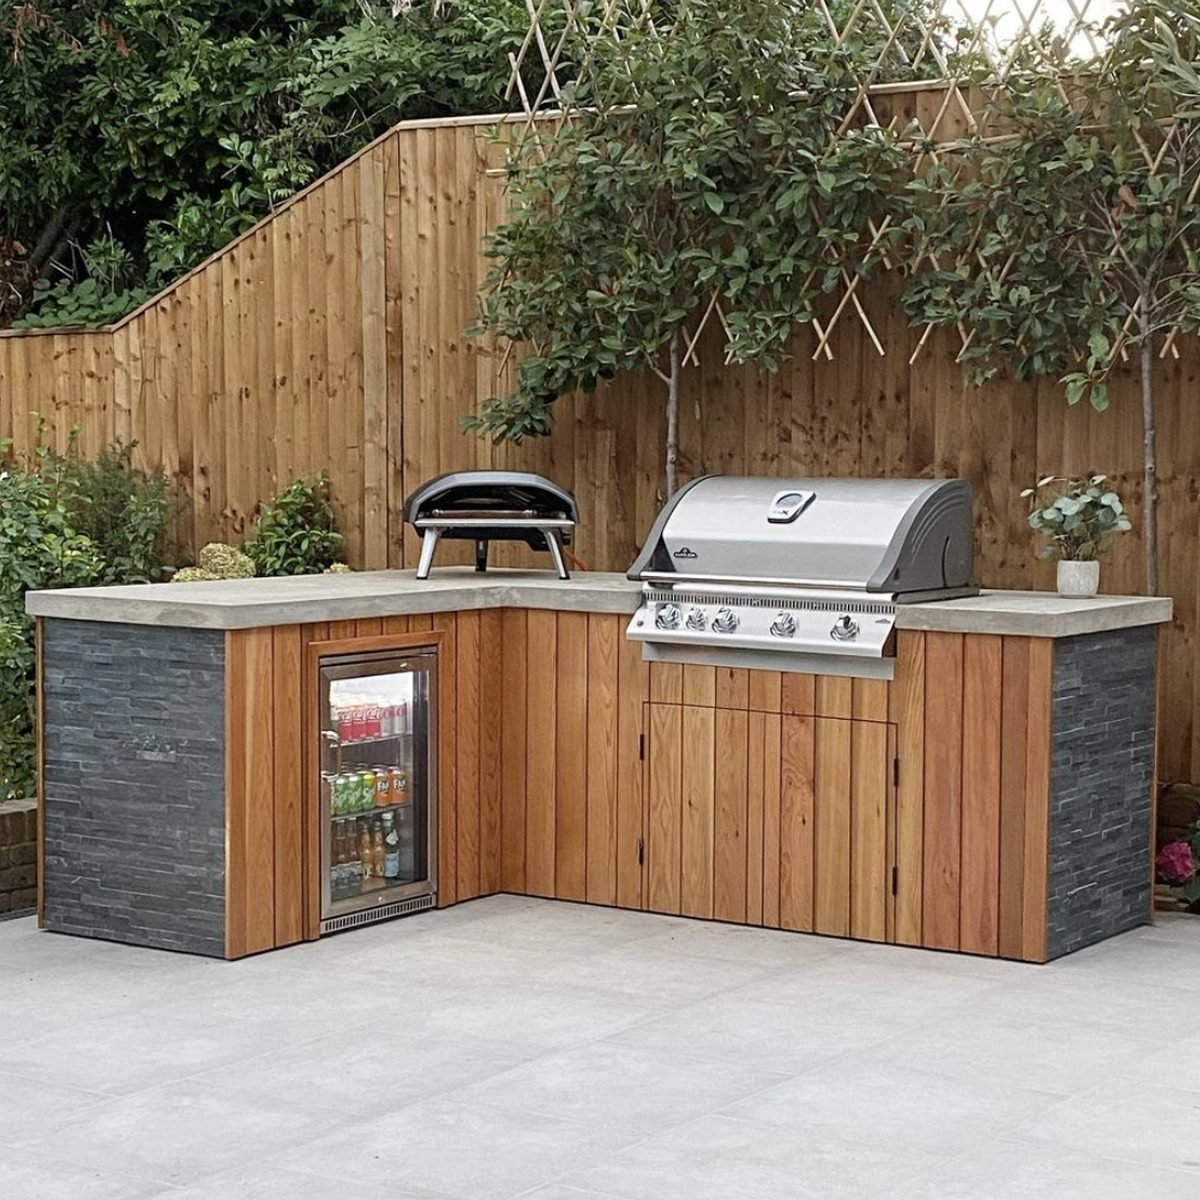
An outdoor kitchen transforms cooking into an alfresco adventure. Shelving plays a key role, merging function with style.
Imagine prepping your meals surrounded by the beauty of nature, where everything you need is within arm’s reach. That dream can become a reality with a few creative touches to your outdoor space. Crafting your own shelves brings a personal touch that no store-bought option can match.
This guide is your starting point to a more organized and stylish outdoor cooking area. Dreaming of an outdoor kitchen that’s both practical and inviting? Start with shelving that saves space and keeps essentials at hand. We’ll explore 10 simple DIY ideas to elevate your outdoor kitchen. No need for complex tools or advanced skills. Each idea is easy to follow and budget-friendly. Whether you have a spacious patio or a cozy balcony, there’s a shelving solution for you. Get ready to build a space where memories and meals are made under the open sky.

Introduction To Diy Outdoor Kitchen Shelving
Creating an outdoor kitchen is a thrilling project. It adds charm and functionality to any backyard. DIY outdoor kitchen shelving is a smart move. It keeps tools and ingredients within reach. It also enhances your outdoor cooking experience.
Benefits Of Space Maximization
Efficient use of space is vital in an outdoor kitchen. Shelving creates order and opens up the area. It allows for more room to move and cook. The right shelves can turn empty walls into valuable storage. They can make small spaces feel larger. They are perfect for storing plates, spices, and cooking gear.
Essentials For Diy Projects
Starting a shelving project requires some basics. First, gather your tools and materials. You’ll need a drill, screws, and weather-resistant wood. Don’t forget a level, to make sure your shelves are straight. Choose your design based on what you’ll store. Will it be heavy pots or just light utensils? Plan for weight and size. Then, you’re ready to build and enjoy your new storage space.
Choosing The Right Materials
Selecting durable materials is key for DIY outdoor kitchen shelves. Opt for weather-resistant options to ensure longevity and functionality.
Choosing the right materials for your DIY outdoor kitchen shelves is key. These shelves face sun, rain, and changes in temperature. The material must last and look good. Let’s explore the best options.Weather-resistant Options
Some materials stand up well to weather. Think about using stainless steel or treated wood. Stainless steel fights rust. Treated wood resists rot and bugs. Both stay strong outside. Pick these for shelves that last.Eco-friendly Choices
Eco-friendly materials are good for the planet. Bamboo and recycled plastic are top picks. Bamboo grows fast and is strong. Recycled plastic uses less energy to make. Both choices are kind to Earth and work well for shelves.Floating Shelves: A Sleek Option
Outdoor kitchens blend charm with functionality. Floating shelves are a sleek option. They offer clean lines and a modern touch. Perfect for spaces where aesthetics are key. They don’t just look good. They serve a practical purpose too. Let’s explore how to install them and style them right.
Installation Tips
Start with the right tools. You need a level, drill, and screws. Find the studs in your wall. They give your shelves strength. Mark the spot. Align the bracket. Keep it level. Drill the holes. Secure the bracket. Slide on the shelf. Check it’s secure.
Styling Your Shelves
Think balance. Place items with care. Mix heights and textures. Use plants for a pop of green. Keep it clutter-free. Display your favorite outdoor dishes. Add some decorative elements. But keep it simple. Let the sleek shelves shine.
Repurposed Wooden Crates
Repurposed Wooden Crates as shelving can transform your outdoor kitchen. These rustic boxes offer charm and practicality. They are easy to find and even easier to customize for any space. Let’s explore how to source and prepare crates for your DIY project.
Finding And Preparing Crates
Start by hunting for wooden crates. Flea markets, garage sales, and local shops often have them. Choose crates in good condition. Avoid those with damage or rot.
- Clean crates with a mild soap and water.
- Let them dry completely.
- Sand rough edges to prevent splinters.
- Apply a sealant for outdoor durability.
Creative Arrangement Ideas
Think beyond stacking crates. Use wall space to hang them or create a modular unit. Here are ways to arrange your crates:
- Vertical gardens with herbs and spices
- Horizontal shelves for cooking tools
- Stacked units for plates and cups
Customize each crate with paint or stencils. This adds a personal touch. Your outdoor kitchen will look great and stay organized.
Industrial Pipe Shelving
Imagine your outdoor kitchen with Industrial Pipe Shelving. It looks modern and neat. This shelving is strong and lasts long. You can make it easily. Let’s start.
Materials Needed
- Pipes – They are the main part.
- Wood planks – For the shelves.
- Screws – To fix everything together.
- Drill – To make holes.
- Level – To check everything is straight.
Step-by-step Assembly
- Measure your space. Know how much room you have.
- Buy pipes and wood. Choose the sizes that fit.
- Drill holes in the wall. This is where pipes will go.
- Attach pipes to the wall. Use screws so they are tight.
- Place wood planks on pipes. Make sure they are even.
- Check with the level. Every shelf should be straight.
This way, you create storage in your outdoor kitchen. It looks good and works well. You did it yourself!
:max_bytes(150000):strip_icc()/storage-outdoor-kitchen-andrew-mann-architecture-0322-2000-bbb24ef727354eceb44c566b46fea711.jpg)
Stackable Shelving Units
Transform your outdoor kitchen with Stackable Shelving Units. These shelving solutions maximize space and offer flexibility. Easy to assemble and perfect for outdoor settings, stackable units keep your cooking essentials within reach.
Modular Design Benefits
- Customizable to fit any space
- Easy to expand as needs grow
- Durable materials withstand the elements
Modular shelves give you the power to create a tailored storage area. Their interlocking components make assembly a breeze. You can start small and add more sections later. These units resist rust and decay, perfect for outdoor conditions.
Versatile Setups
- Mix and match units for best fit
- Vertical or horizontal configurations
- Use for tools, spices, or cookware
Stackable shelves adapt to your needs. Arrange them high, low, or side by side. They hold all your outdoor cooking must-haves. This way, you keep everything organized and ready for your next BBQ or family gathering.
Hanging Baskets And Containers
Outdoor kitchens bring joy. They need smart storage. Think about hanging baskets and containers. They save space. They look good. Easy to reach items. Let’s dive into how to pick and hang them.
Selecting Durable Baskets
Choose strong baskets. Weatherproof materials last longer. Metal or plastic works well. Think about weight. Baskets should hold your items easily. Size matters too. Make sure they fit your space.
Mounting Techniques
Secure mounting is key. Use brackets for heavy baskets. Wall hooks work for lighter ones. Make sure the wall can hold them. Use a drill for a strong hold. Regular checks keep them safe.
Magnetic Spice And Utensil Racks
Outdoor cooking becomes a breeze with clever storage. Magnetic spice and utensil racks keep essentials within reach. They save space and add style to any DIY outdoor kitchen. Let’s explore simple ways to set up these racks.
Magnetic Solutions For Small Items
Magnetic strips make spices easy to grab. They stick to metal surfaces. Just place spice containers with metal lids on the strip. This method keeps spices dry and tidy. Use magnetic hooks for hanging utensils. These hooks can hold tongs, spatulas, and more. They free up shelf space and keep tools off the counter.
- Attach magnetic strips under cabinets or shelves.
- Use metal lids on spice jars for a secure hold.
- Opt for strong magnetic hooks for heavier utensils.
Diy Rack Construction
Building a rack is simple. Use wood or metal for the frame. Attach a metal sheet to the frame for the magnetic surface. Then, paint or seal the rack to withstand the outdoors. Hang the rack near your grill or prep area for easy access.
- Cut the frame to your desired size.
- Secure a metal sheet to the frame.
- Finish with paint or sealant for protection.
These DIY ideas bring order and style to outdoor kitchens. Try them for a more enjoyable cooking experience.
Fold-down Tables And Bars
Fold-down tables and bars offer a clever solution for space-saving in outdoor kitchens. These DIY options provide extra counter space only when needed, making them ideal for compact areas.
Outdoor kitchens boost home value. They also create a perfect spot for summer barbecues and family gatherings. But space can be a challenge, especially in smaller yards. Fold-down tables and bars tackle this problem head-on. They offer ample surface when you need it and tuck away neatly when you don’t.
Space-saving Design
Fold-down solutions are ideal for compact outdoor areas. They attach to walls or the side of a grill station. Use them for prep work or as a serving area. When not in use, they fold down flush against the supporting structure. This leaves your outdoor space open and uncluttered.
Building A Fold-down Surface
- Measure the space to determine the size of your fold-down unit.
- Choose materials that withstand outdoor elements. Think weather-resistant wood or stainless steel.
- Cut the material to size and sand any rough edges for safety.
- Install strong hinges to the underside of the table or bar top.
- Attach the surface to a solid structure like a wall or sturdy post.
- Add a support leg or chain that tucks away when the surface is folded down.
- Finish with a waterproof sealant to protect the surface from the weather.
With these steps, you create a functional outdoor feature that saves space and enhances your outdoor kitchen’s versatility.
Corner Shelves For Unused Spaces
Outdoor kitchens transform cooking into a communal experience. Corner shelves turn unused spaces into functional storage. They offer a clever way to organize items. Let’s explore how to make the most of these nooks.
Maximizing Corner Storage
Think vertical for corner storage. Use stackable units or tall shelves. This method uses every inch of space. Select materials that withstand outdoor conditions. Metals like stainless steel or coated aluminum work well. They resist rust and weather damage. Choose shelves with adjustable heights for flexibility.
Custom Corner Shelf Building
Build shelves to fit your space. Measure the corner area first. Cut wood or metal to these dimensions. Treat wood with sealants to protect from the elements. Assemble using screws for sturdiness. Paint or finish to match your outdoor decor. Custom shelves give a personal touch to your kitchen.
Incorporating Planters For Fresh Herbs
Elevate your outdoor kitchen with DIY shelving that doubles as a garden. Simple shelves can host a variety of fresh herbs, bringing flavor and greenery to your space.
Imagine stepping outside to a shelf of fresh herbs as you cook. It’s easy and practical. Outdoor kitchen shelves with planters bring life and flavor to your space. You can snip basil, rosemary, or thyme right when you need them. Fresh herbs enhance your cooking and your kitchen’s look. Let’s dive into how to blend storage and greenery in your outdoor kitchen.
Combining Storage With Greenery
Outdoor kitchens shine with smart storage. Add planters on shelves for a lush look. Think small pots with herbs or large ones with leafy plants. They create a vibrant backdrop for your cooking area. Use stackable planters for variety and to save space. This way, you get both storage and a mini garden. It’s a win-win!
Diy Herb Planter Ideas
DIY planters make herb growing simple. Use old jars, cans, or wooden boxes. Drill holes for drainage and fill them with soil and seeds. Hang them on the wall or place them on shelves. Label each planter for easy herb picking. This setup is not just handy but also a charming addition to your outdoor kitchen.
Conclusion: Enhancing Your Outdoor Kitchen
Elevating your outdoor kitchen is simple with these DIY shelving ideas. Discover easy ways to organize and beautify your space.
With the right DIY shelving, outdoor kitchens transform into functional, stylish spaces. Let’s explore how to keep shelves in top shape and create an inviting atmosphere.
Maintenance Tips
- Clean regularly to prevent buildup.
- Inspect shelves yearly for wear and tear.
- Apply a protective sealant for longevity.
- Choose weather-resistant materials to avoid decay.
- Ensure proper installation to support weight.
Inviting Ambiance With Good Shelving
Good shelving sets the tone for your outdoor space. Use lighting to highlight areas. Add plants for a touch of green. Select shelves that match your style. With these tips, your outdoor kitchen will be a cozy spot for friends and family.
Frequently Asked Questions
What Materials Work Best For Outdoor Kitchen Shelving?
Outdoor kitchen shelves thrive with materials like stainless steel, teak, and high-density polyethylene (HDPE). These materials resist weather damage, rust, and fading, making them durable options for outdoor conditions.
How Can You Protect Outdoor Kitchen Shelves From The Elements?
Applying a waterproof sealant to wood shelves and choosing rust-resistant materials like stainless steel can protect outdoor kitchen shelves. Additionally, installing a canopy or awning provides extra protection against sun and rain.
Are Floating Shelves A Good Idea For Outdoor Kitchens?
Yes, floating shelves are great for outdoor kitchens. They offer a sleek, space-saving solution and can be made from weather-resistant materials. Ensure they’re securely mounted to withstand outdoor conditions.
What Is The Cost-effective Way To Add Shelving To An Outdoor Kitchen?
Using repurposed materials like reclaimed wood or industrial metal brackets can be a cost-effective way to add shelving. DIY installation also saves money compared to hiring a professional.
Conclusion
Embarking on a DIY outdoor kitchen shelving project can be exciting. With these 10 simple ideas, you’re ready to transform your space. Remember, creativity is key. Use materials that withstand the elements. Think about what you’ll store. Shelves should be practical and stylish.
Start small, then expand. Your outdoor kitchen will become the heart of your backyard. Friends and family will love the cozy, functional touch. Ready to build? Grab your tools and let’s make those shelves a reality!